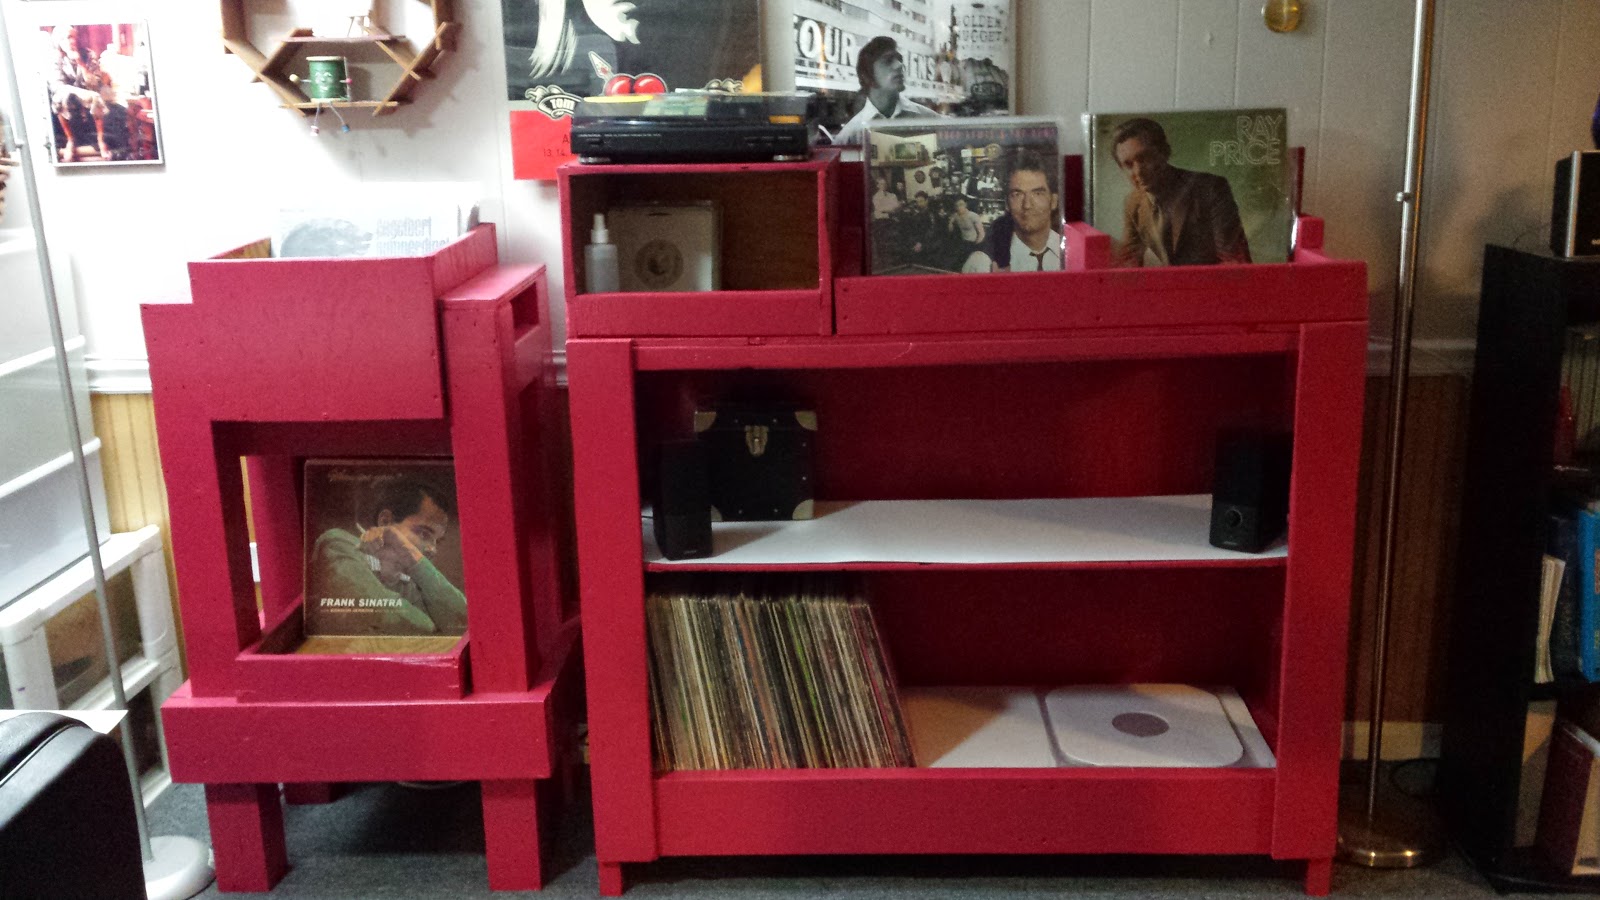
Like a kid grows out of clothes, my girlfriend has vastly runneth over her other (mini) record bin I built previous. This time, we set out to actually design it in such a way that it fulfilled needs such as the physical space it would sit in and planning for the days to come.
From there I got to building. I made a couple mathematical errors when constructing, or just screwed up and didn’t keep certain clearances in mind. That being said, I was able to salvage it each time.
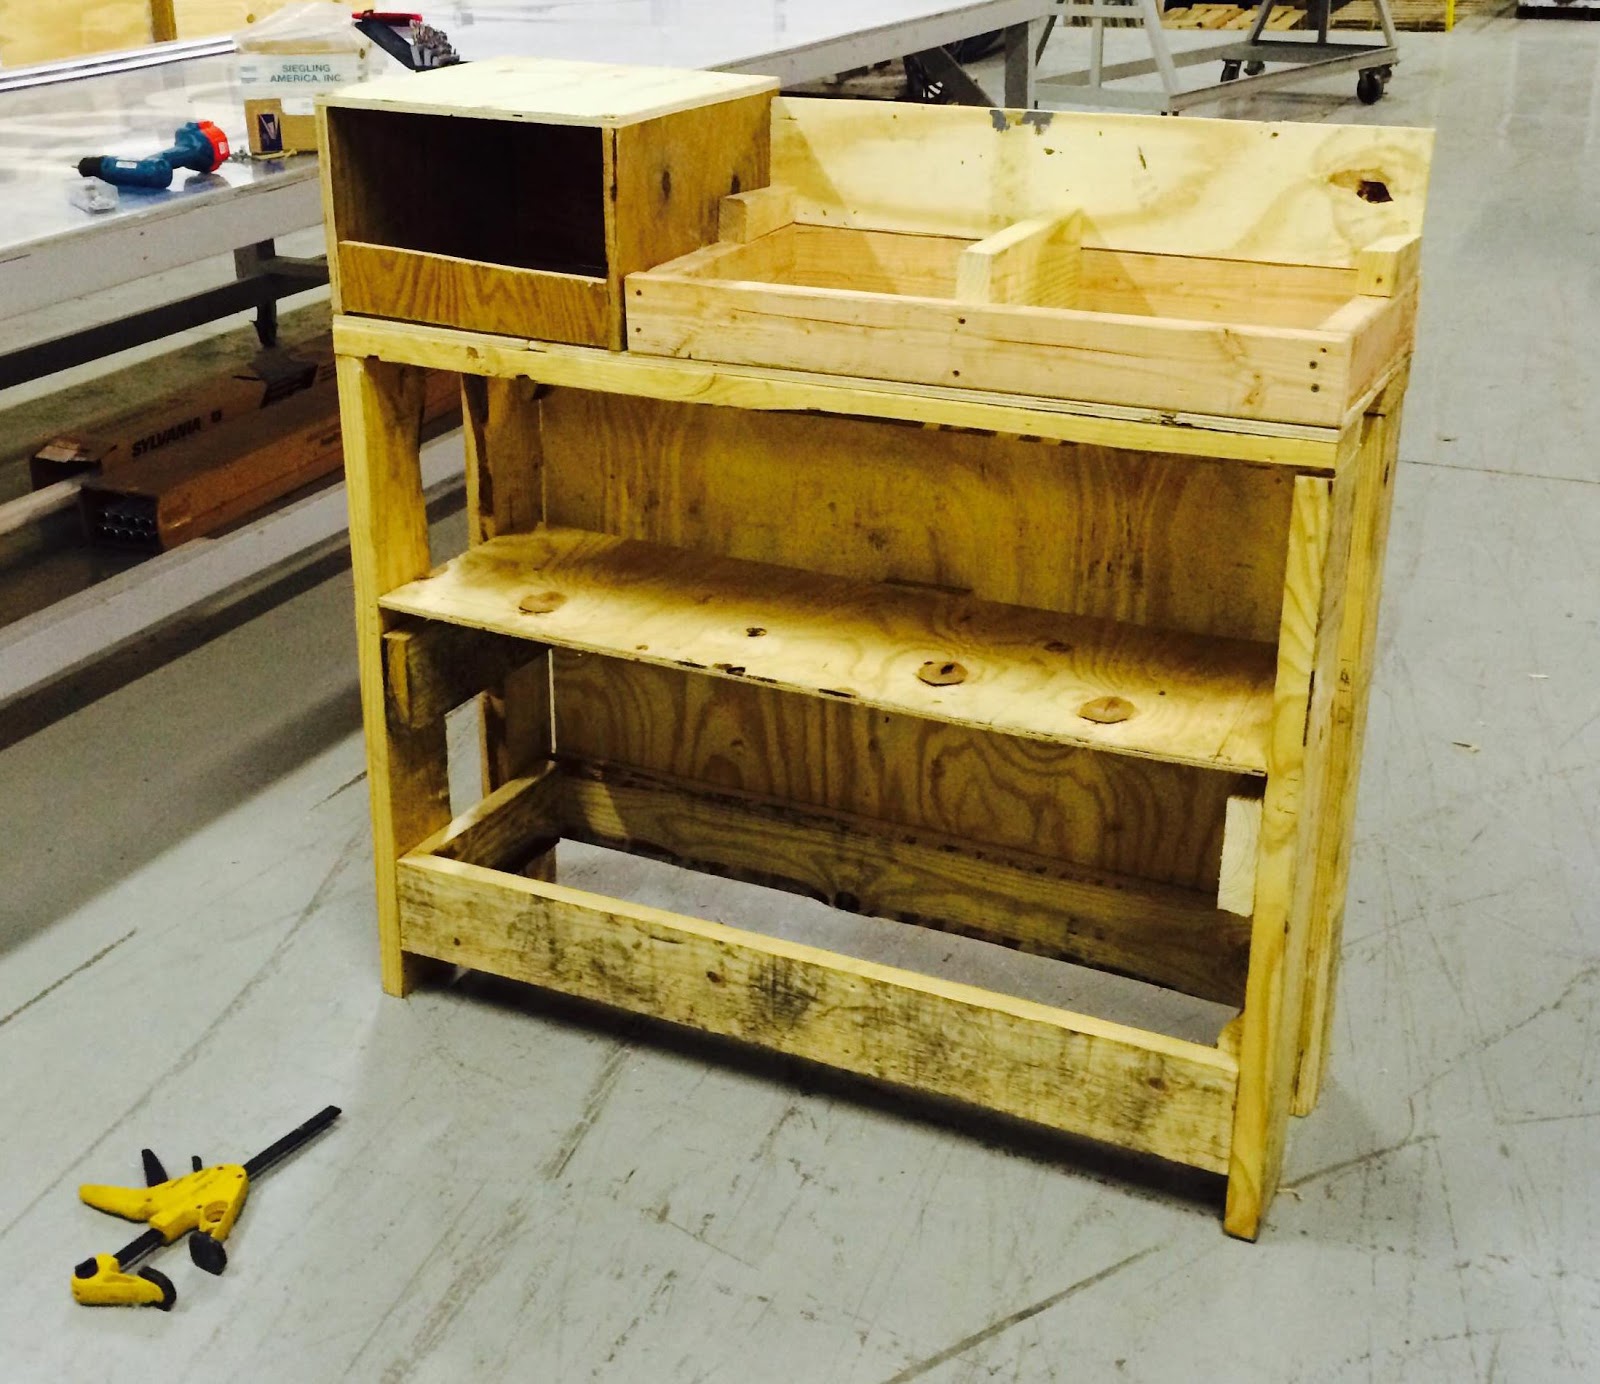
The width of the ‘birdhouse’ was meant to be 16″ so there would be room for a 1″ divider down the middle (which would also provide structural support for the weight above (turntable) and still leave a little headroom to allow for two rows of 7″ records. Alas, I made it at only 15″ so while there is still plenty room for two rows, no divider. The support is hardly needed as light as the turntable is, plus the weight is distributed on the legs which are on the edges.
The bottom horizontal shelf again I fouled up and made it 13″ high. This was what I wanted – however I did not account for the thickness of the plywood to line the shelf. I was able to save this (see below). And somehow the top horizontal shelf is only 12 1/2″ tall – still large enough for LPs but tighter than I planned. Oops.
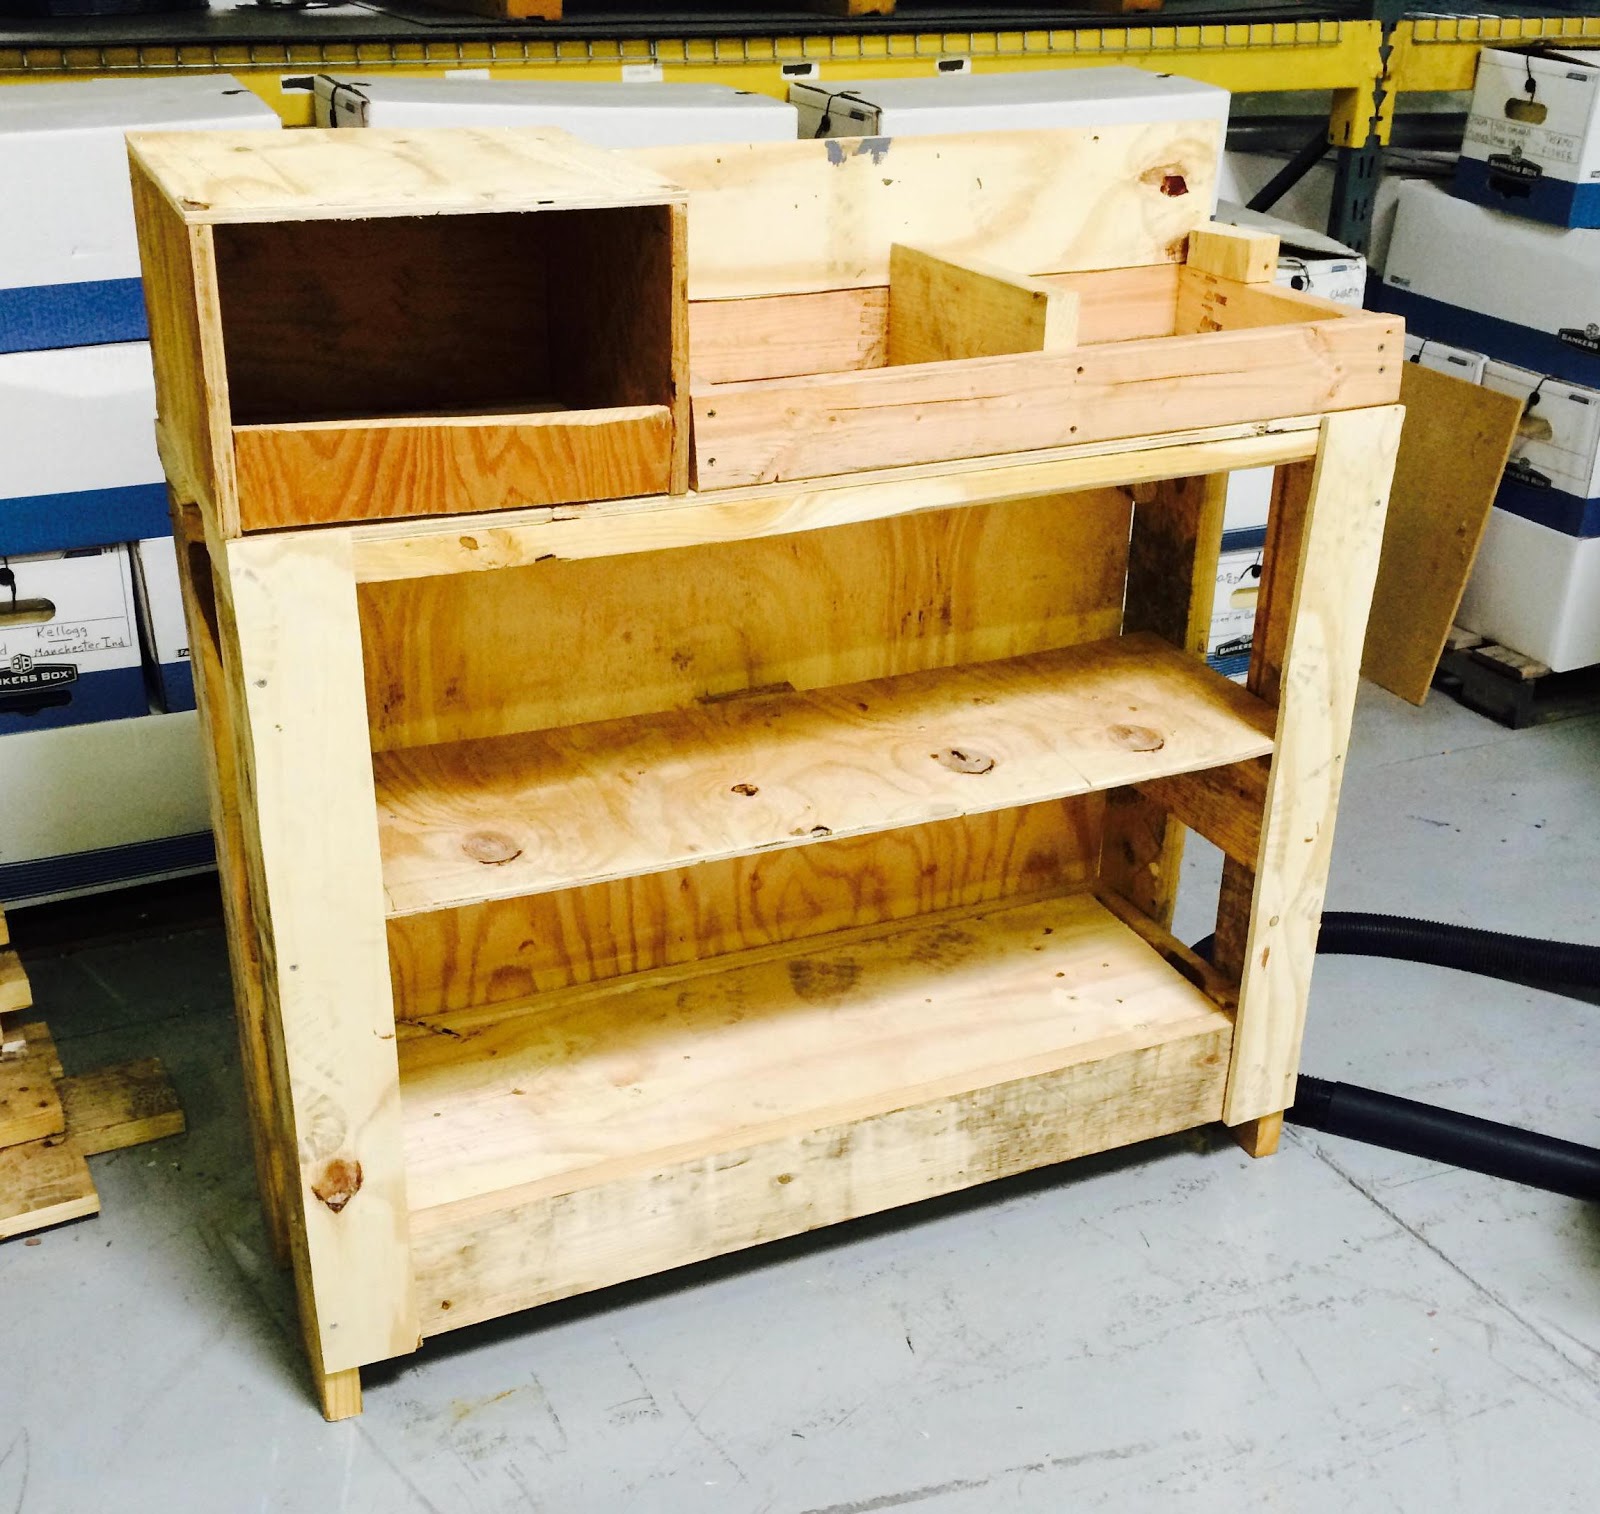
I saved the lower most shelf by having the plywood flush with the frame, supported by a 2×6″ which is further recessed and running the width of the shelf. I also added some trim vertically on each side to hide the joints on the middle shelf which were unsightly.
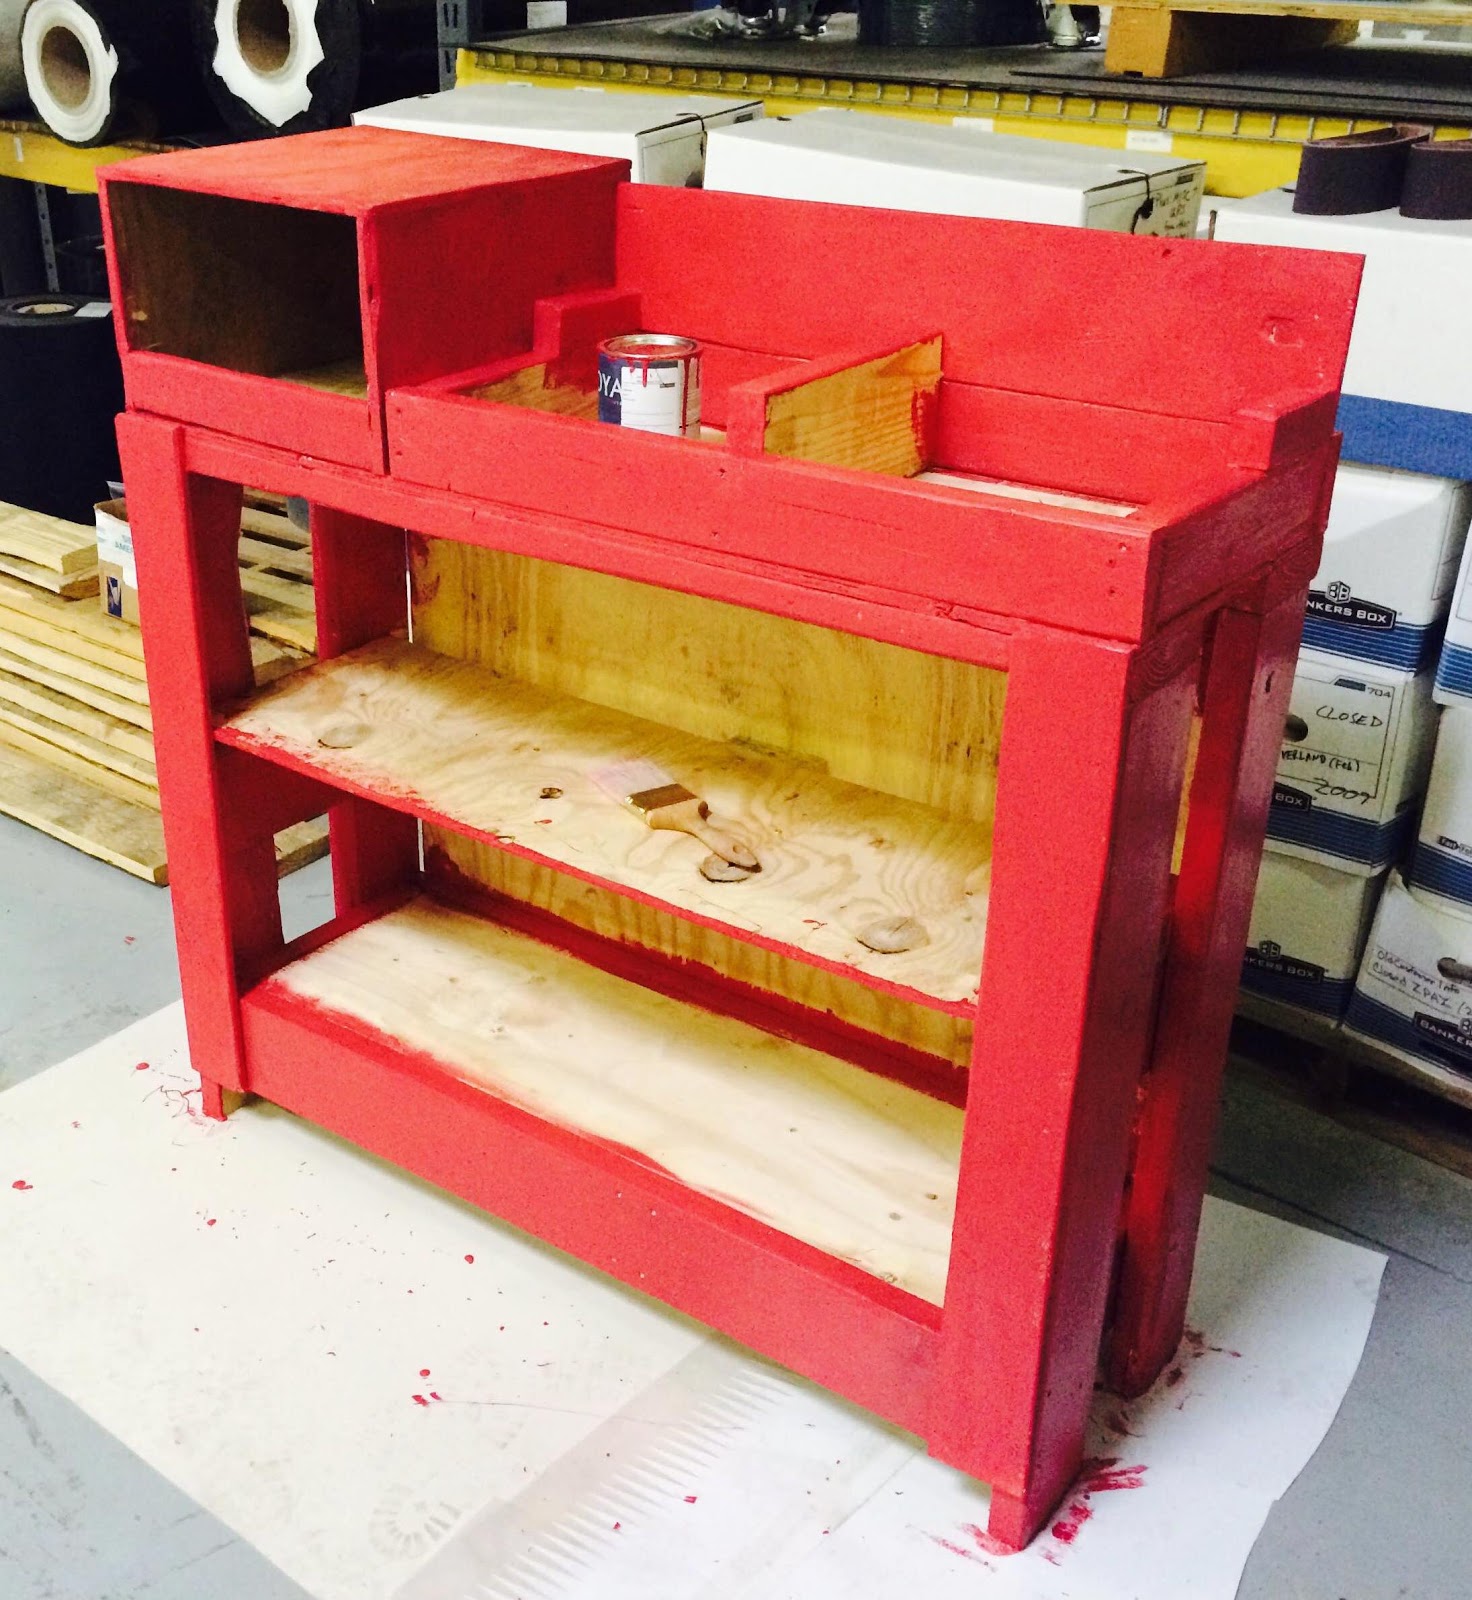
After running a belt sander over the whole thing many times, and cutting the ‘front door’ to the birdhouse so that it is straight, I began to apply paint. I do intend to paint the backsplash but I will leave the shelves themselves (and interior of the birdhouse and top shelf bins) as bare wood as I think it ‘feels’ better for the records movement. (They are all plastic jacketed anyway).
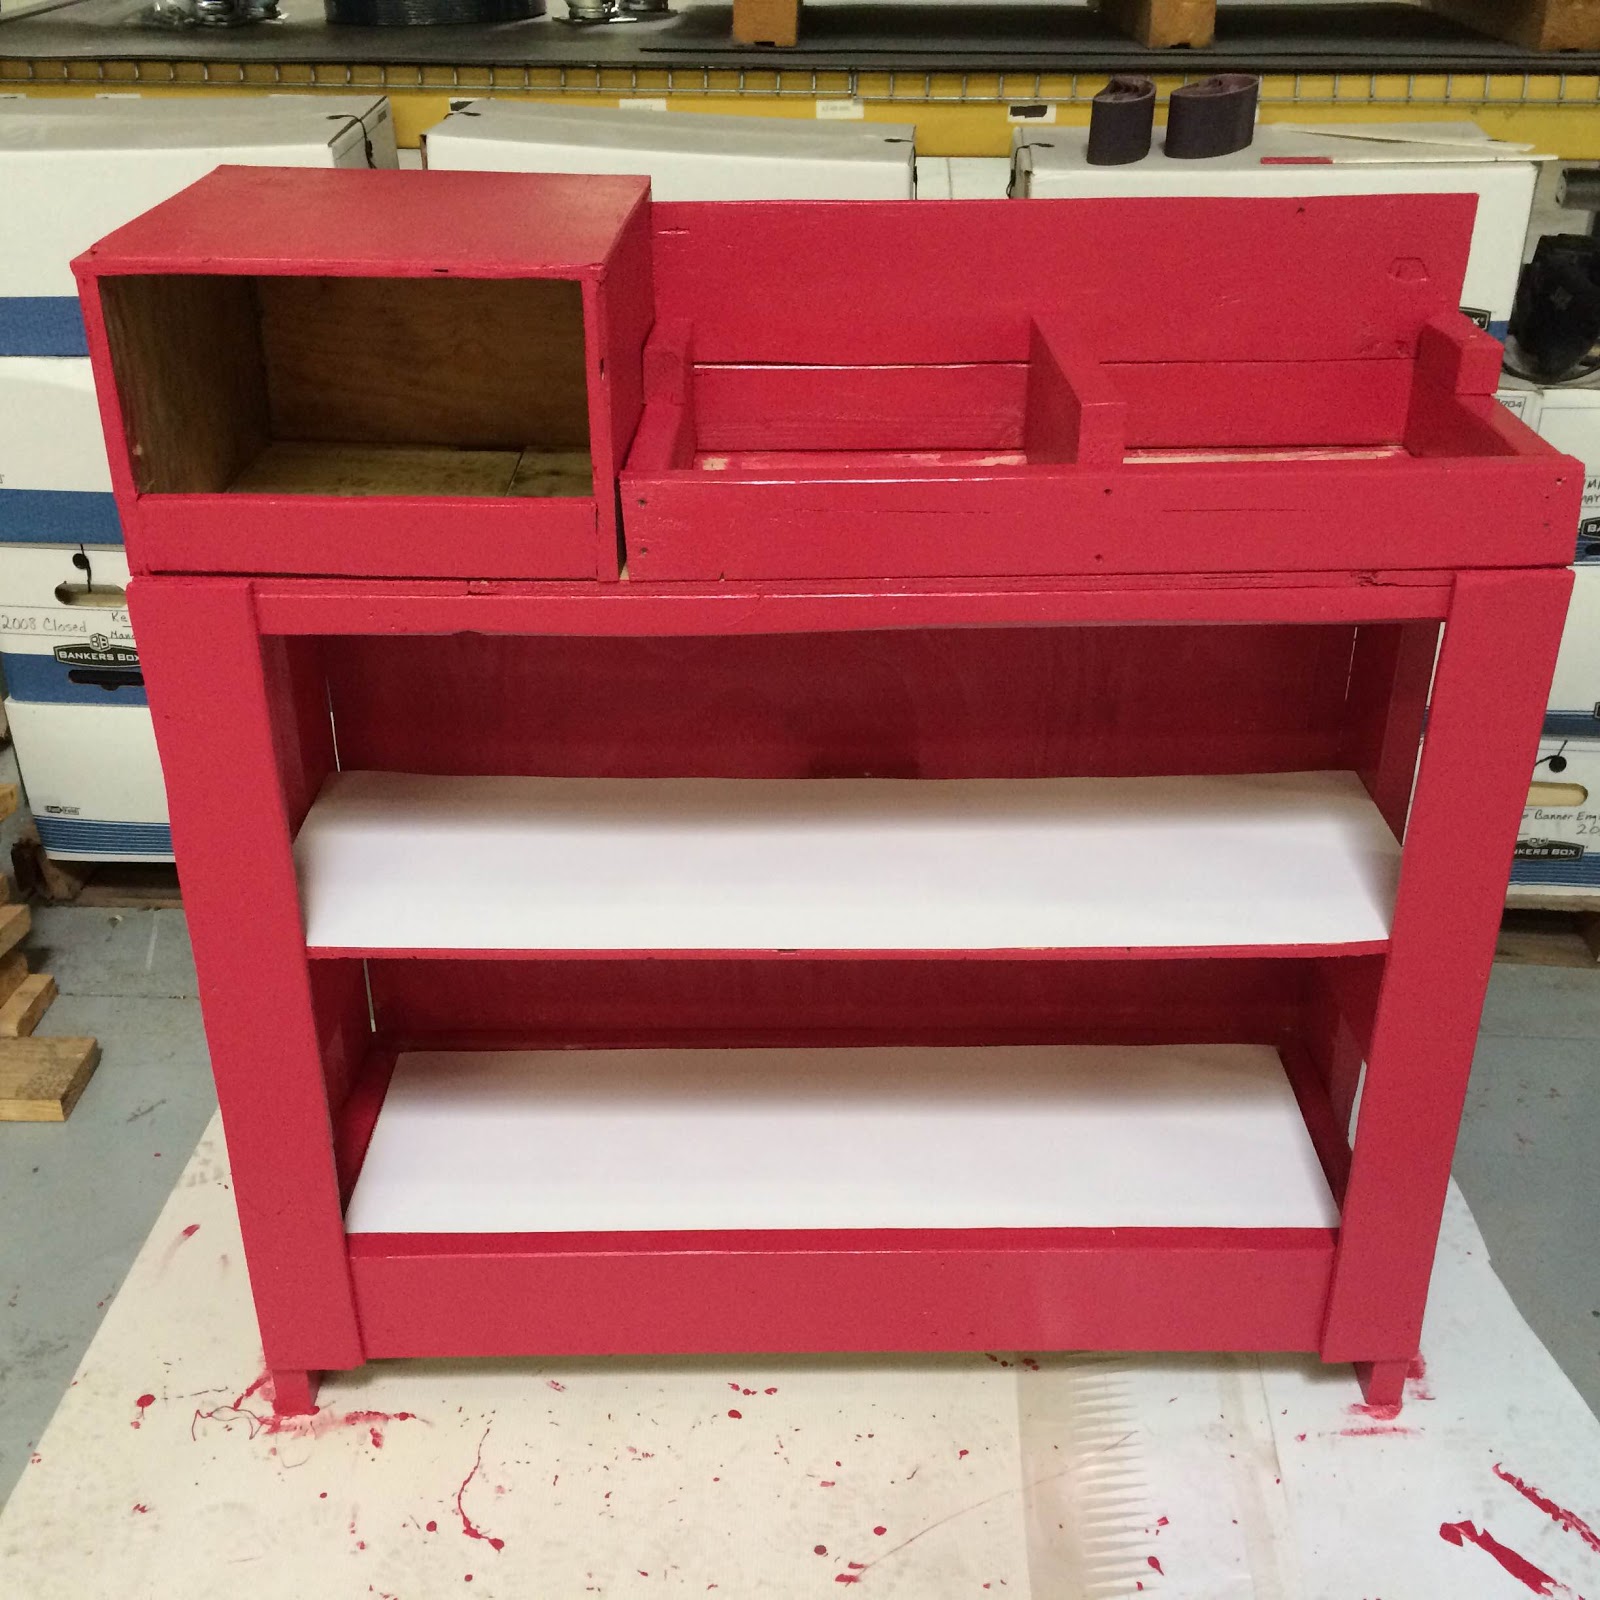
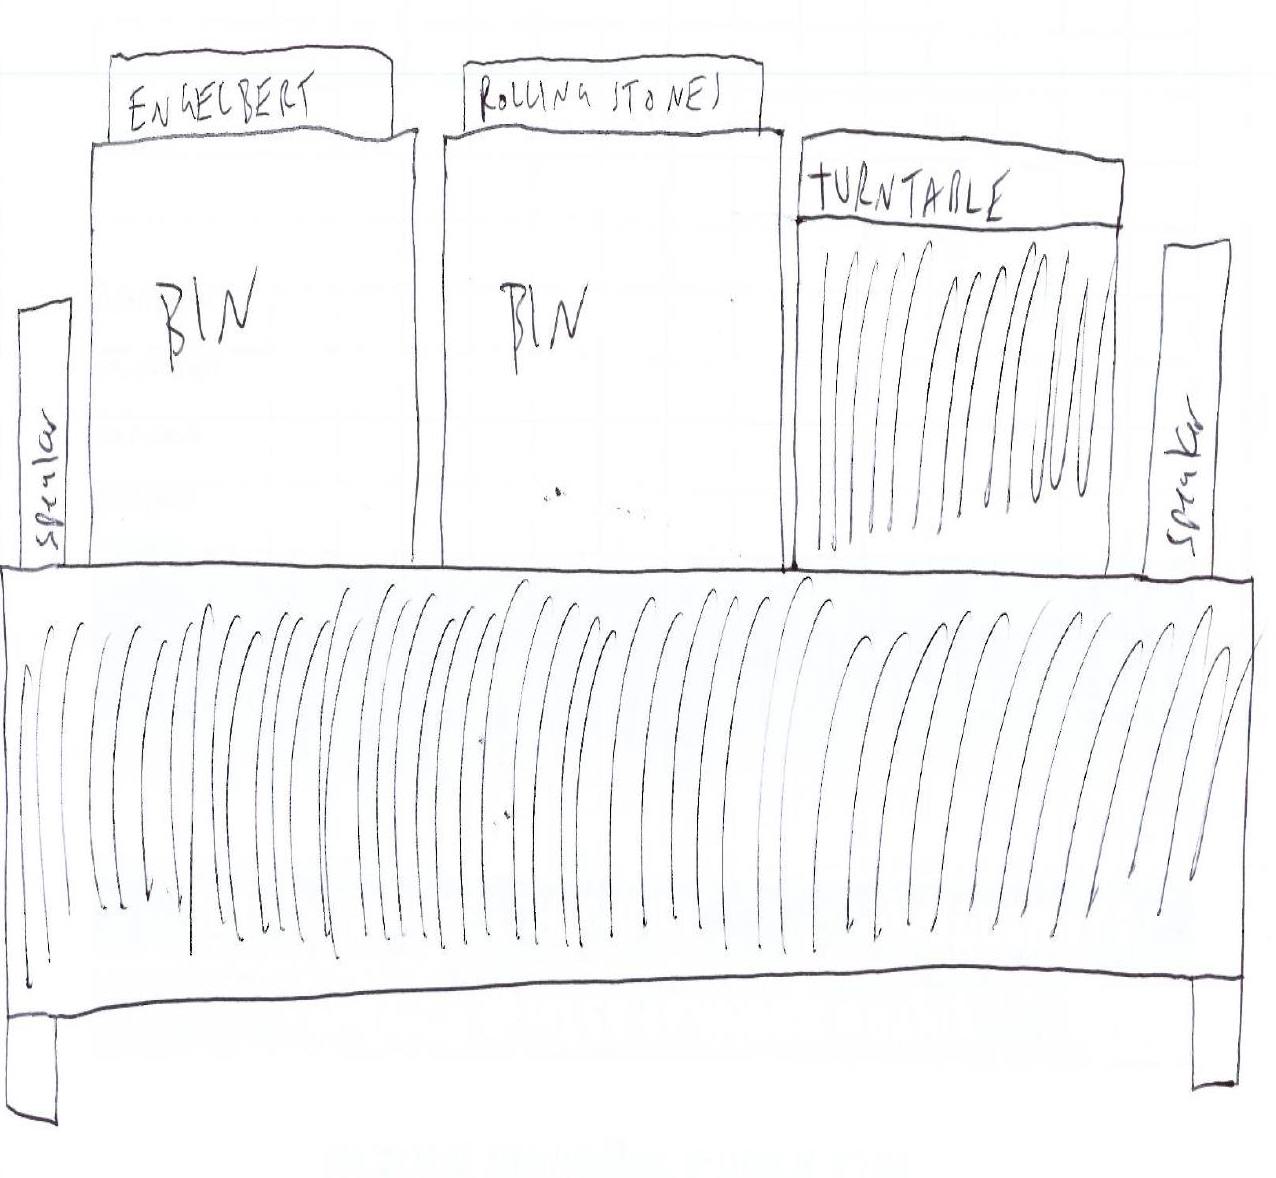
It barely fit into the work van I used to cart it over to its final destination. I initially (as seen in the original print) did not design it to have two horizontal shelves. Getting it down the stairs was no easy task either. But after all is said and done – its ready to go and in use. Glad to see this thing through.